10 Ways to Maintain Hardwood Floors in Winter
Table of Contents
Why Winter Is Hard on Hardwood Floors
1. How to Clean Hardwood Floors in Winter Without Excess Water
2. How to Protect Hardwood Floors From Moisture and Winter Debris
Dealing With Salt, Slush, and Ice at the Door
3. The Best Cleaner for Hardwood Floors When Winter Grime Builds Up
4. Hardwood Floor Humidity Levels to Watch All Winter
A Room-by-Room Humidity Check
5. Your Winter Hardwood Floor Care Checklist
When Seasonal Gaps or Damage Need Professional Assessment
Frequently Asked Questions
Last Updated: October 6, 2026
Why Winter Is Hard on Hardwood Floors
Winter is the toughest season for hardwood floors in any northern home. Cold outdoor air holds very little moisture, and once that air is heated indoors, relative humidity can fall well below the range wood needs to stay stable. This guide from Northern Escapes Services explains how to protect hardwood floors through the driest months of the year.
Wood is hygroscopic, which means it absorbs and releases moisture from the air around it. When indoor air dries out, boards lose moisture, shrink, and pull apart at the seams. You will notice new gaps between planks, a duller finish, and the occasional creak that was not there in summer.
At the same time, winter brings the opposite problem at the entryway: tracked-in slush, road salt, and grit. So the season hits wood flooring from both directions at once.
Below, we break down 10 ways to maintain hardwood floors in winter, from daily cleaning habits to humidity targets and a simple room-by-room check.
1. How to Clean Hardwood Floors in Winter Without Excess Water
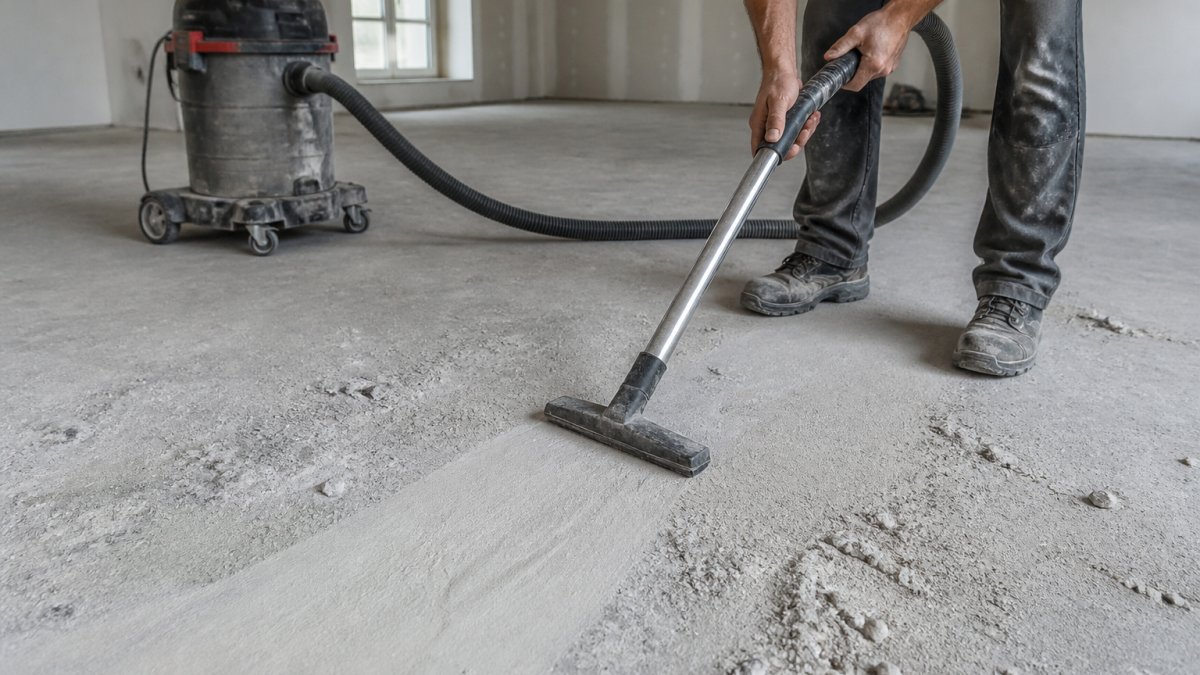
The safest way to clean hardwood floors in winter is with a soft-bristled broom or a vacuum first, then a lightly damp mop, never a wet one. Water is the enemy here. Standing moisture seeps into seams, swells the boards, and dulls the finish.
Start by removing loose dirt and debris. Dust and grit act like sandpaper underfoot, scratching the finish with every step. A weekly pass with a vacuum using a hard-floor attachment handles most of it.
For the damp mop stage, wring the mop until it is nearly dry. The floor should feel cool to the touch, not wet. Follow immediately with a dry cloth or towel to pick up any remaining film.
Sweep or vacuum loose dirt and debris first
Use a soft-bristled broom on finished wood
Mop with a lightly damp, not wet, mop head
Dry the surface right after mopping
Never let water pool in seams or against baseboards

Watch Out Never use a soaking wet mop or steam cleaner on hardwood. Excess water seeps into the seams, swells the boards, and can lead to warping and finish failure that only shows up months later.
2. How to Protect Hardwood Floors From Moisture and Winter Debris
The best protection for hardwood floors from moisture is a layered entryway system: mats outside, mats inside, and a no-shoes habit. Most winter damage starts at the door, not in the middle of the room.
Snow, ice, salt, and slush tracked in from outdoors are the biggest threats to wood flooring in winter. Road salt is especially harsh. It leaves a white residue that can etch the finish if it sits, and it pulls moisture right to the surface of the wood.
Dealing With Salt, Slush, and Ice at the Door
Set up two mats: a coarse outdoor mat to scrape off grit, and an absorbent indoor mat to catch meltwater. Shake and vacuum both mats often, since a saturated mat just spreads the mess.
Wipe up slush and salt residue as soon as you see it. A dry cloth handles fresh spots; a lightly damp cloth with a wood-safe cleaner handles dried salt trails. Clean spills promptly rather than letting them sit.
Place a scraper mat outside and an absorbent mat inside
Ask guests to remove wet footwear at the door
Wipe up slush and salt residue the same day
Vacuum entryway mats regularly
Keep a towel by the door for quick cleanups
Pro Tip Salt residue left on a wood finish can leave a cloudy white haze that looks like water damage. A lightly damp cloth with a pH-neutral cleaner usually lifts it, but only if you catch it early. Once it has sat for weeks, the finish may need professional attention.
3. The Best Cleaner for Hardwood Floors When Winter Grime Builds Up
The best cleaner for hardwood floors is a pH-neutral, wood-safe cleaner made for finished wood. Skip anything harsh. Vinegar, ammonia, and harsh detergents can strip the finish over time and leave wood looking dull and dry.
Winter grime is a mix of salt, grit, and dried slush. A pH-neutral cleaner loosens that film without attacking the finish. Spray a small amount on a cloth or a lightly damp mop, never directly on the floor in a puddle.
Match the cleaner to your finish. Surface-sealed floors tolerate a lightly damp mop with a wood-safe cleaner. Oiled or waxed floors need a product made for that finish, since water-based cleaners can cloud them.
Choose a pH-neutral, wood-safe cleaner
Avoid vinegar, ammonia, and harsh detergents
Never pour cleaning solution directly on the floor
Match the cleaner to your floor's finish type
Test any new product on a hidden spot first
4. Hardwood Floor Humidity Levels to Watch All Winter
Hardwood floor humidity levels should stay between 35% and 55% relative humidity for most of the year. In winter, many heated homes drop well below that, which is when wood shrinkage, floor gaps, and cracking start.
When indoor air gets too dry, boards lose moisture and shrink. That is why gaps appear in January that were invisible in October. When air gets too damp, the opposite happens: boards swell, cup at the edges, and can warp.
The fix is steady control, not a one-time adjustment. A hygrometer, which costs very little, tells you what your home is actually doing. Many homes run dry near the furnace and damper near the kitchen, so one reading is not enough.
Target 35% to 55% relative humidity
Use a hygrometer to track levels, not guesswork
Run a humidifier in dry rooms, a dehumidifier in damp ones
Avoid sudden swings in humidity
Keep an eye on gaps, cupping, and new creaks
A Room-by-Room Humidity Check
Walk through your home with a hygrometer and note the reading in each room. Bedrooms and living areas near the furnace usually run driest. Bathrooms and kitchens run dampest.
If a room reads below 35%, add moisture there with a humidifier. If it reads above 55%, ventilate or use a dehumidifier. Recheck every few weeks as outdoor temperatures change.
For humidifier use around wood floors, place the unit so mist does not blow directly onto the boards. Refill and clean it regularly so it does not become a source of excess moisture or mold.
Check each room separately with a hygrometer
Add a humidifier where readings fall below 35%
Reduce moisture where readings climb above 55%
Keep humidifier mist off the floor surface
Recheck readings as the season shifts
5. Your Winter Hardwood Floor Care Checklist
A simple weekly routine prevents most winter floor damage. The goal is consistency: remove grit, control moisture, and catch problems early before they need a pro.
Here is the winter hardwood floor care checklist we walk clients through:
Sweep or vacuum loose dirt and debris twice a week
Damp mop with a pH-neutral, wood-safe cleaner as needed
Dry the floor right after any mopping
Wipe up spills and salt residue promptly
Shake out and vacuum entryway mats weekly
Check relative humidity in each room every few weeks
Refill and clean humidifiers regularly
Watch for new gaps, cupping, or finish wear
Keep heating steady to avoid big humidity swings
Task | Frequency | Why It Matters |
Sweep or vacuum | 2x per week | Removes grit that scratches the finish |
Damp mop | As needed | Lifts winter grime without excess water |
Wipe spills and salt | Same day | Prevents finish etching and stains |
Check humidity | Every 2-3 weeks | Keeps wood in the 35-55% range |
Inspect for gaps | Monthly | Catches shrinkage early |
Winter heating and temperature management matter too. Big day-to-night temperature swings dry the air faster and stress the wood. Keep indoor temperatures steady, and avoid placing heat sources directly over the floor.
When Seasonal Gaps or Damage Need Professional Assessment
Small seasonal gaps that close again in spring are normal. Damage that stays, spreads, or comes with cupping and lifting boards is not. That is when it is time to call in a professional.
Watch for these warning signs:
Gaps wider than a few millimetres that do not close
Boards cupping, crowning, or lifting at the edges
Dark stains or soft spots that suggest moisture damage
Finish peeling, flaking, or worn through to bare wood
Persistent creaks or movement underfoot
If you see any of these, stop wet cleaning and have the floor assessed. Catching moisture damage early usually means a simpler repair. Waiting can mean sanding, refinishing, or replacing boards.
Northern Escapes Services has handled flooring projects across Northern Ontario since 2019. We use detailed and innovative installation methods, comprehensive project tracking, and transparent pricing with detailed contracts, so you know what is happening at every step. If you want a clear, no-surprise assessment of your hardwood floors, our team can help.
Frequently Asked Questions
How do you protect hardwood floors from winter moisture?
Place absorbent mats at every entrance and ask everyone to remove wet boots before stepping onto the wood. Wipe up any tracked-in slush or water immediately with a dry cloth, and keep indoor relative humidity between 35% and 55%. If you use a humidifier, run it only while you can monitor levels, since too much moisture causes swelling and warping just as dry air causes gaps and cracking.
Can dry winter air damage hardwood floors?
Yes. Heating systems pull moisture out of the air, and when indoor relative humidity drops below roughly 35%, wood boards lose moisture content and shrink. That shrinkage shows up as gaps between boards, fine cracks in the finish, and a looser feel underfoot. Running a humidifier to hold levels between 35% and 55% prevents most of this seasonal movement, and most small gaps close again once spring humidity returns.
What should you not use on hardwood floors?
Skip vinegar, ammonia, harsh detergents, and any all-purpose spray cleaner not labelled for wood. These can dull or strip the finish over time. Avoid soaking a mop, since standing water seeps into seams and causes swelling. A pH-neutral wood-safe cleaner applied with a lightly damp mop, followed by a dry pass, cleans effectively without harming the finish.
What is the safest way to remove salt from hardwood floors?
Let any wet salt residue dry first, then vacuum it up gently with a soft brush attachment so you do not grind the crystals into the finish. Follow with a cloth dampened with a pH-neutral wood-safe cleaner, wipe dry immediately, and place a mat at the door to stop the next batch from coming in. Never use a soaking wet mop, because dissolved salt spreads into the seams and speeds up finish wear.
Winter will always test your hardwood floors. Dry heated air pulls moisture from the boards while salt and slush attack them at the door. Northern Escapes Services can take the guesswork out of protecting them, with detailed installation methods, comprehensive project tracking, and transparent pricing backed by detailed contracts. Get started with Northern Escapes Services and keep your floors solid, level, and looking their best all winter.
Get Started Today

Comments